Get The Secret Behind Glowing Skin: Exfoliation
Want that beaming, baby smooth skin? Find out how to get it here.
Winter Skin Sucks.
If you’re like me, the moment the cold weather hits I lose my summer glow.
Are we just all doomed to deal with dry, dull skin once the temperature drops?
Thankfully not! Fortunately, there’s an easy way to get your glow back. How? One word: Exfoliation.
Incorporating an exfoliator into your skincare regimen can be a complete game changer for making your skin glow!
How Exfoliation Helps Winter Skin
The #1 job of an exfoliator is to remove the buildup of dead skin cells. Fresh, new skin cells means radiant looking skin.
Updating your skincare routine with an exfoliator can help with:
Texture
Clearing blackheads and acne
Diminishing the look of fine lines and texture
Reducing hyperpigmentation and sun damage
And so much more.
Having freshly resurfaced skin allows serums and moisturizers to penetrate deeper, making them more effective. Plus, makeup will go on like butter - yes, please!
Not sure of where to begin with exfoliation? No worries!
I’ll give you the inside scoop on the two main methods: Physical and Chemical Exfoliation
Ready? Let’s go!
Old School: Physical Exfoliation
When most people think exfoliation- they think ‘physical’.
What does that mean?
Anything with little bits in it used to scrub away the dead skin is a physical exfoliant.
Remember St. Ives Apricot Scrub? I was addicted to the stuff in my middle school years! To this day, I swear it’s the reason for the large pores on my nose.
The problem is most physical exfoliants are just too harsh for facial skin.
Using harsh scrubs on your face can cause micro tears, irritation, and enlarged pores. This is why even though my skin is sensitive, I definitely prefer chemical exfoliation.
The Modern Solution: Chemical Exfoliation
Be nice to your face. Winter weather takes a toll on your skin without harsh scrubbing.
You can be gentle and still get that glow with Chemical Exfoliation.
Chemical exfoliators contain low percentages of acids to break up the “glue” that holds dead skin cells together, revealing smoother and brighter skin.
Don’t let the term acid scare you! If you start out slow and steady, giving your skin time to adjust, you’ll get that glow you’re looking for. These acids can be found in all types of products - cleansers, toners, serums, and masks.
There are two types of chemical exfoliants: AHA (alpha-hydroxy acids) and BHA (beta-hydroxy acids).
There are many, but the two most popular AHAs are glycolic and lactic acids. If your skin type ranges from normal to dry, an AHA exfoliant will be more suitable for you. AHAs are water soluble and give your skin a hydration boost.
BHA refers to Salicylic Acid. If you’re acne-prone and have an oily skin type, you will want to reach for a BHA. BHA is oil soluble- allowing it to work deeper into the pores.
Of course too much of a good thing can be a bad thing.
Start in moderation.
Over-exfoliating or using too many acids at once can irritate and strip the skin of it’s precious hydration and moisture. I suggest applying these at night and allowing a couple days to gauge your skin’s response before using on a more frequent basis.
Here are some of my faves:
Already Got Your Glow On?
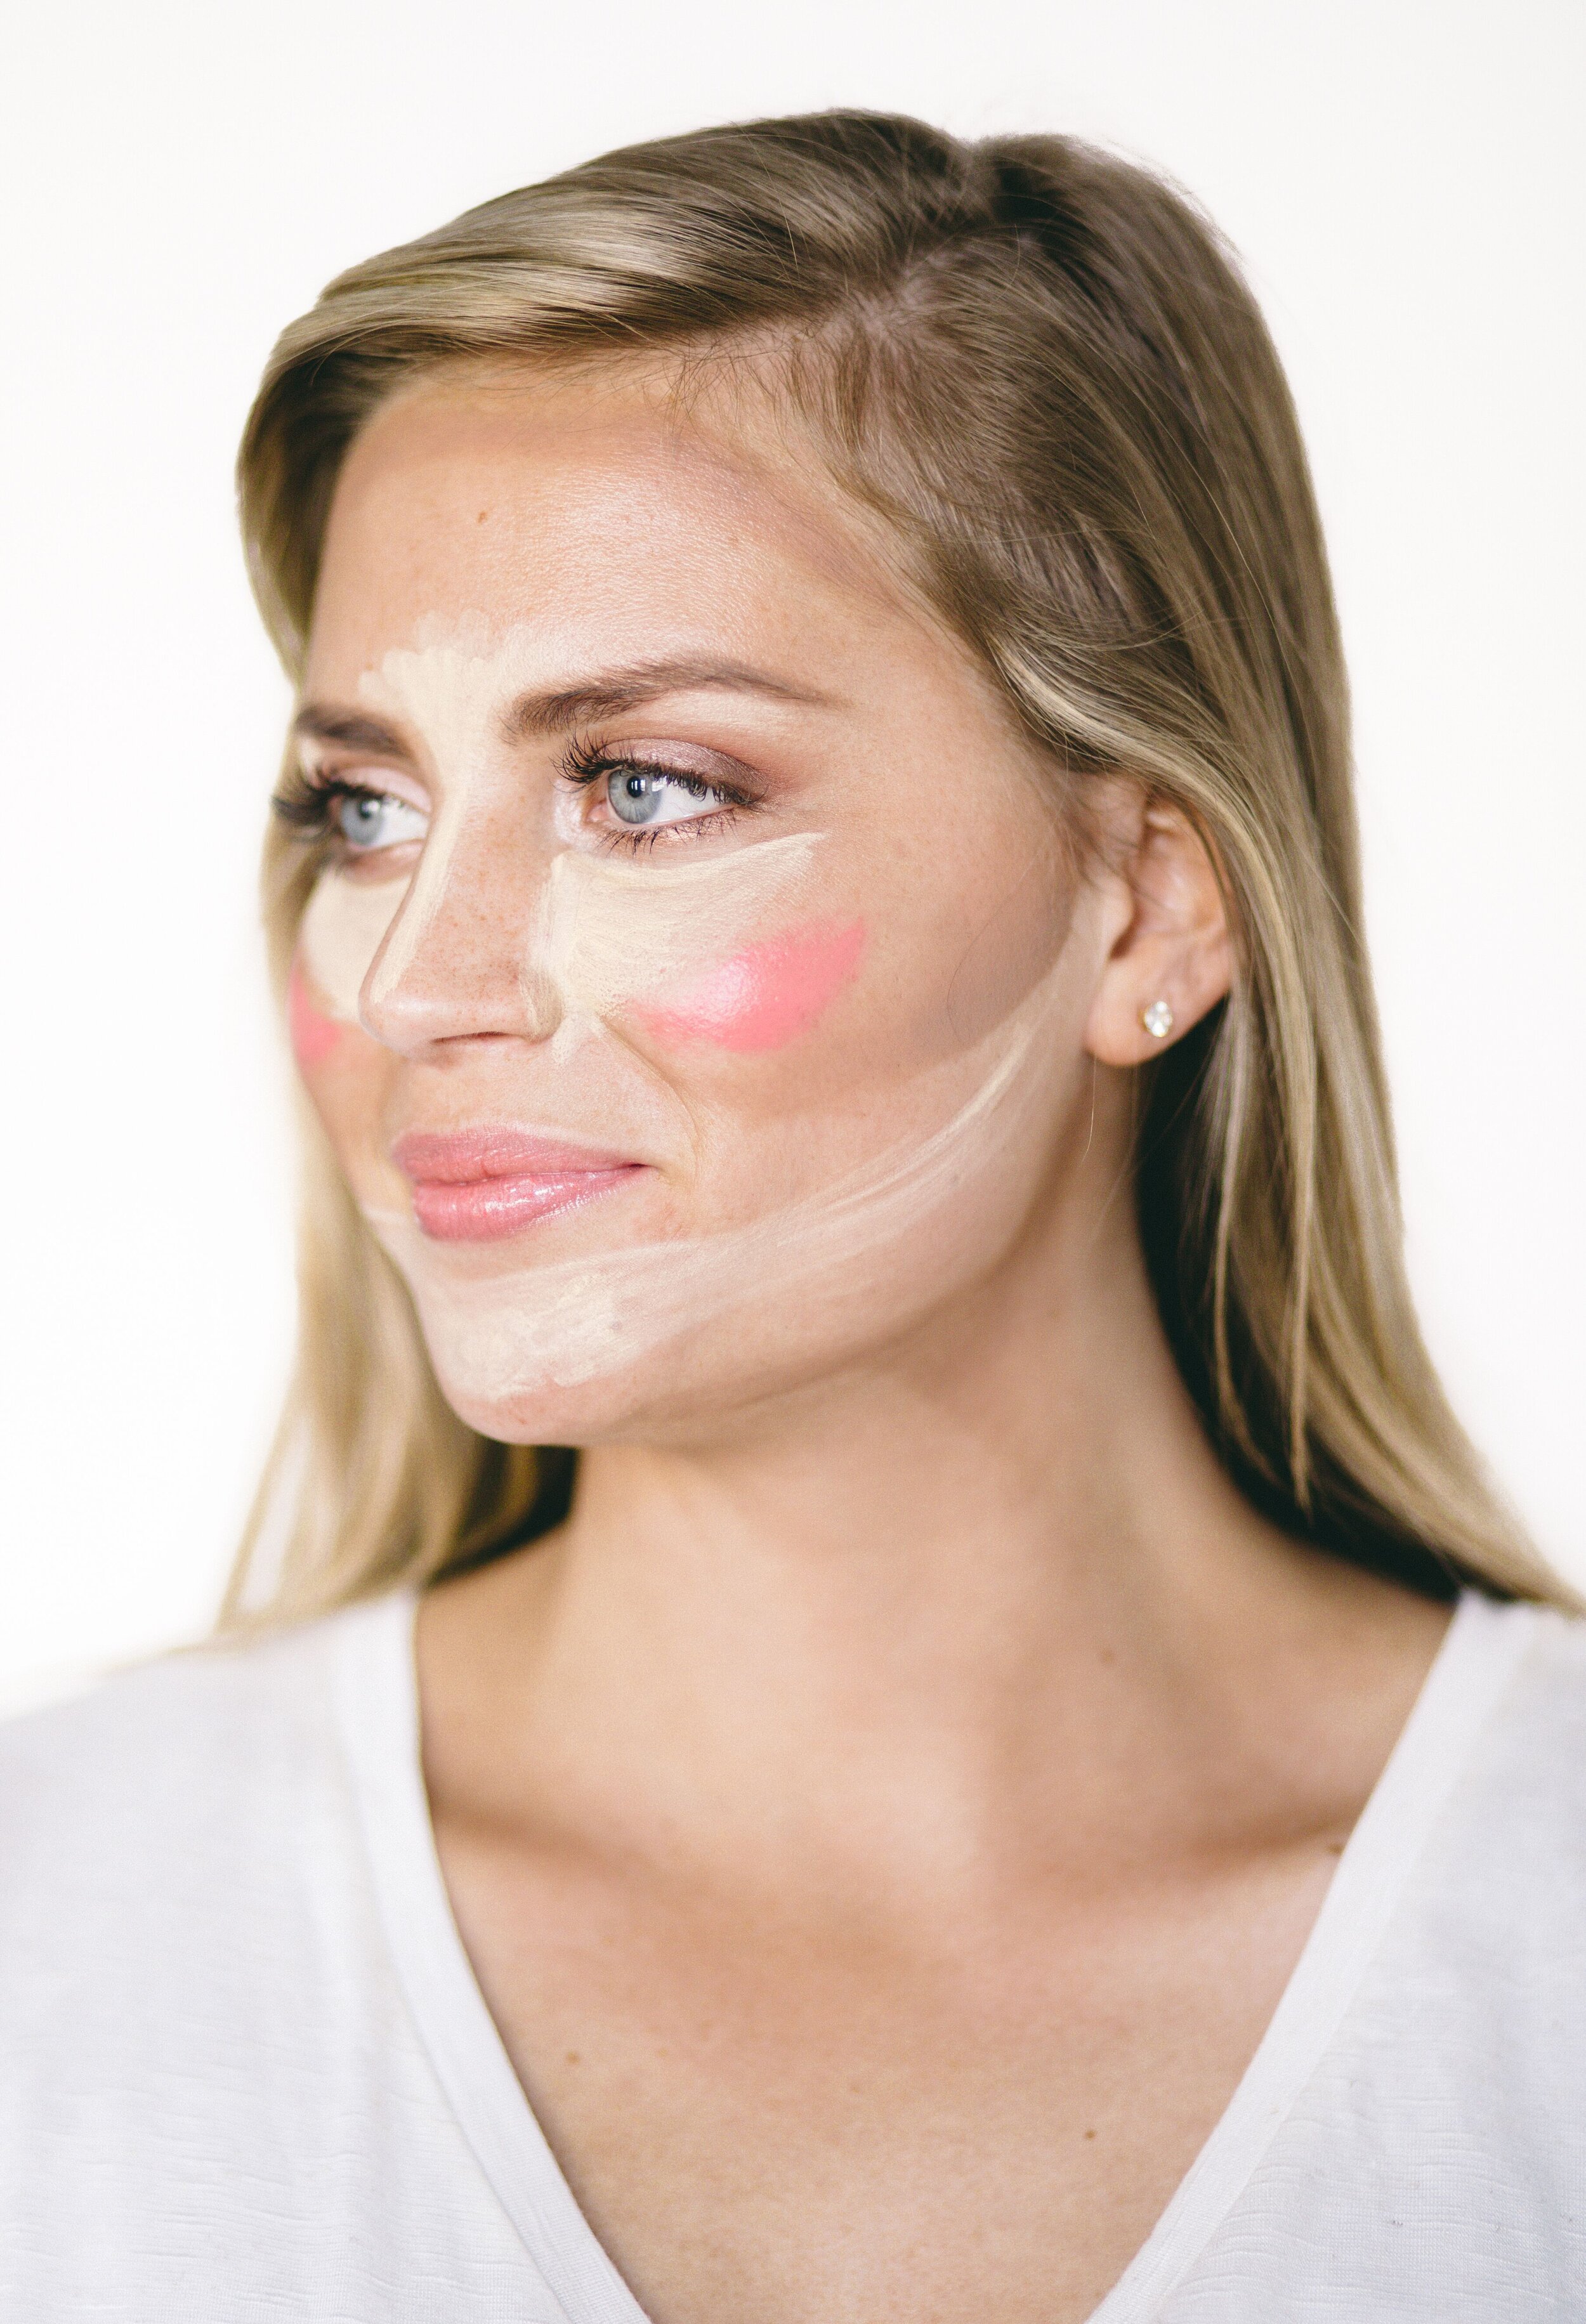
Next step: Enhance that glow with cream makeup.
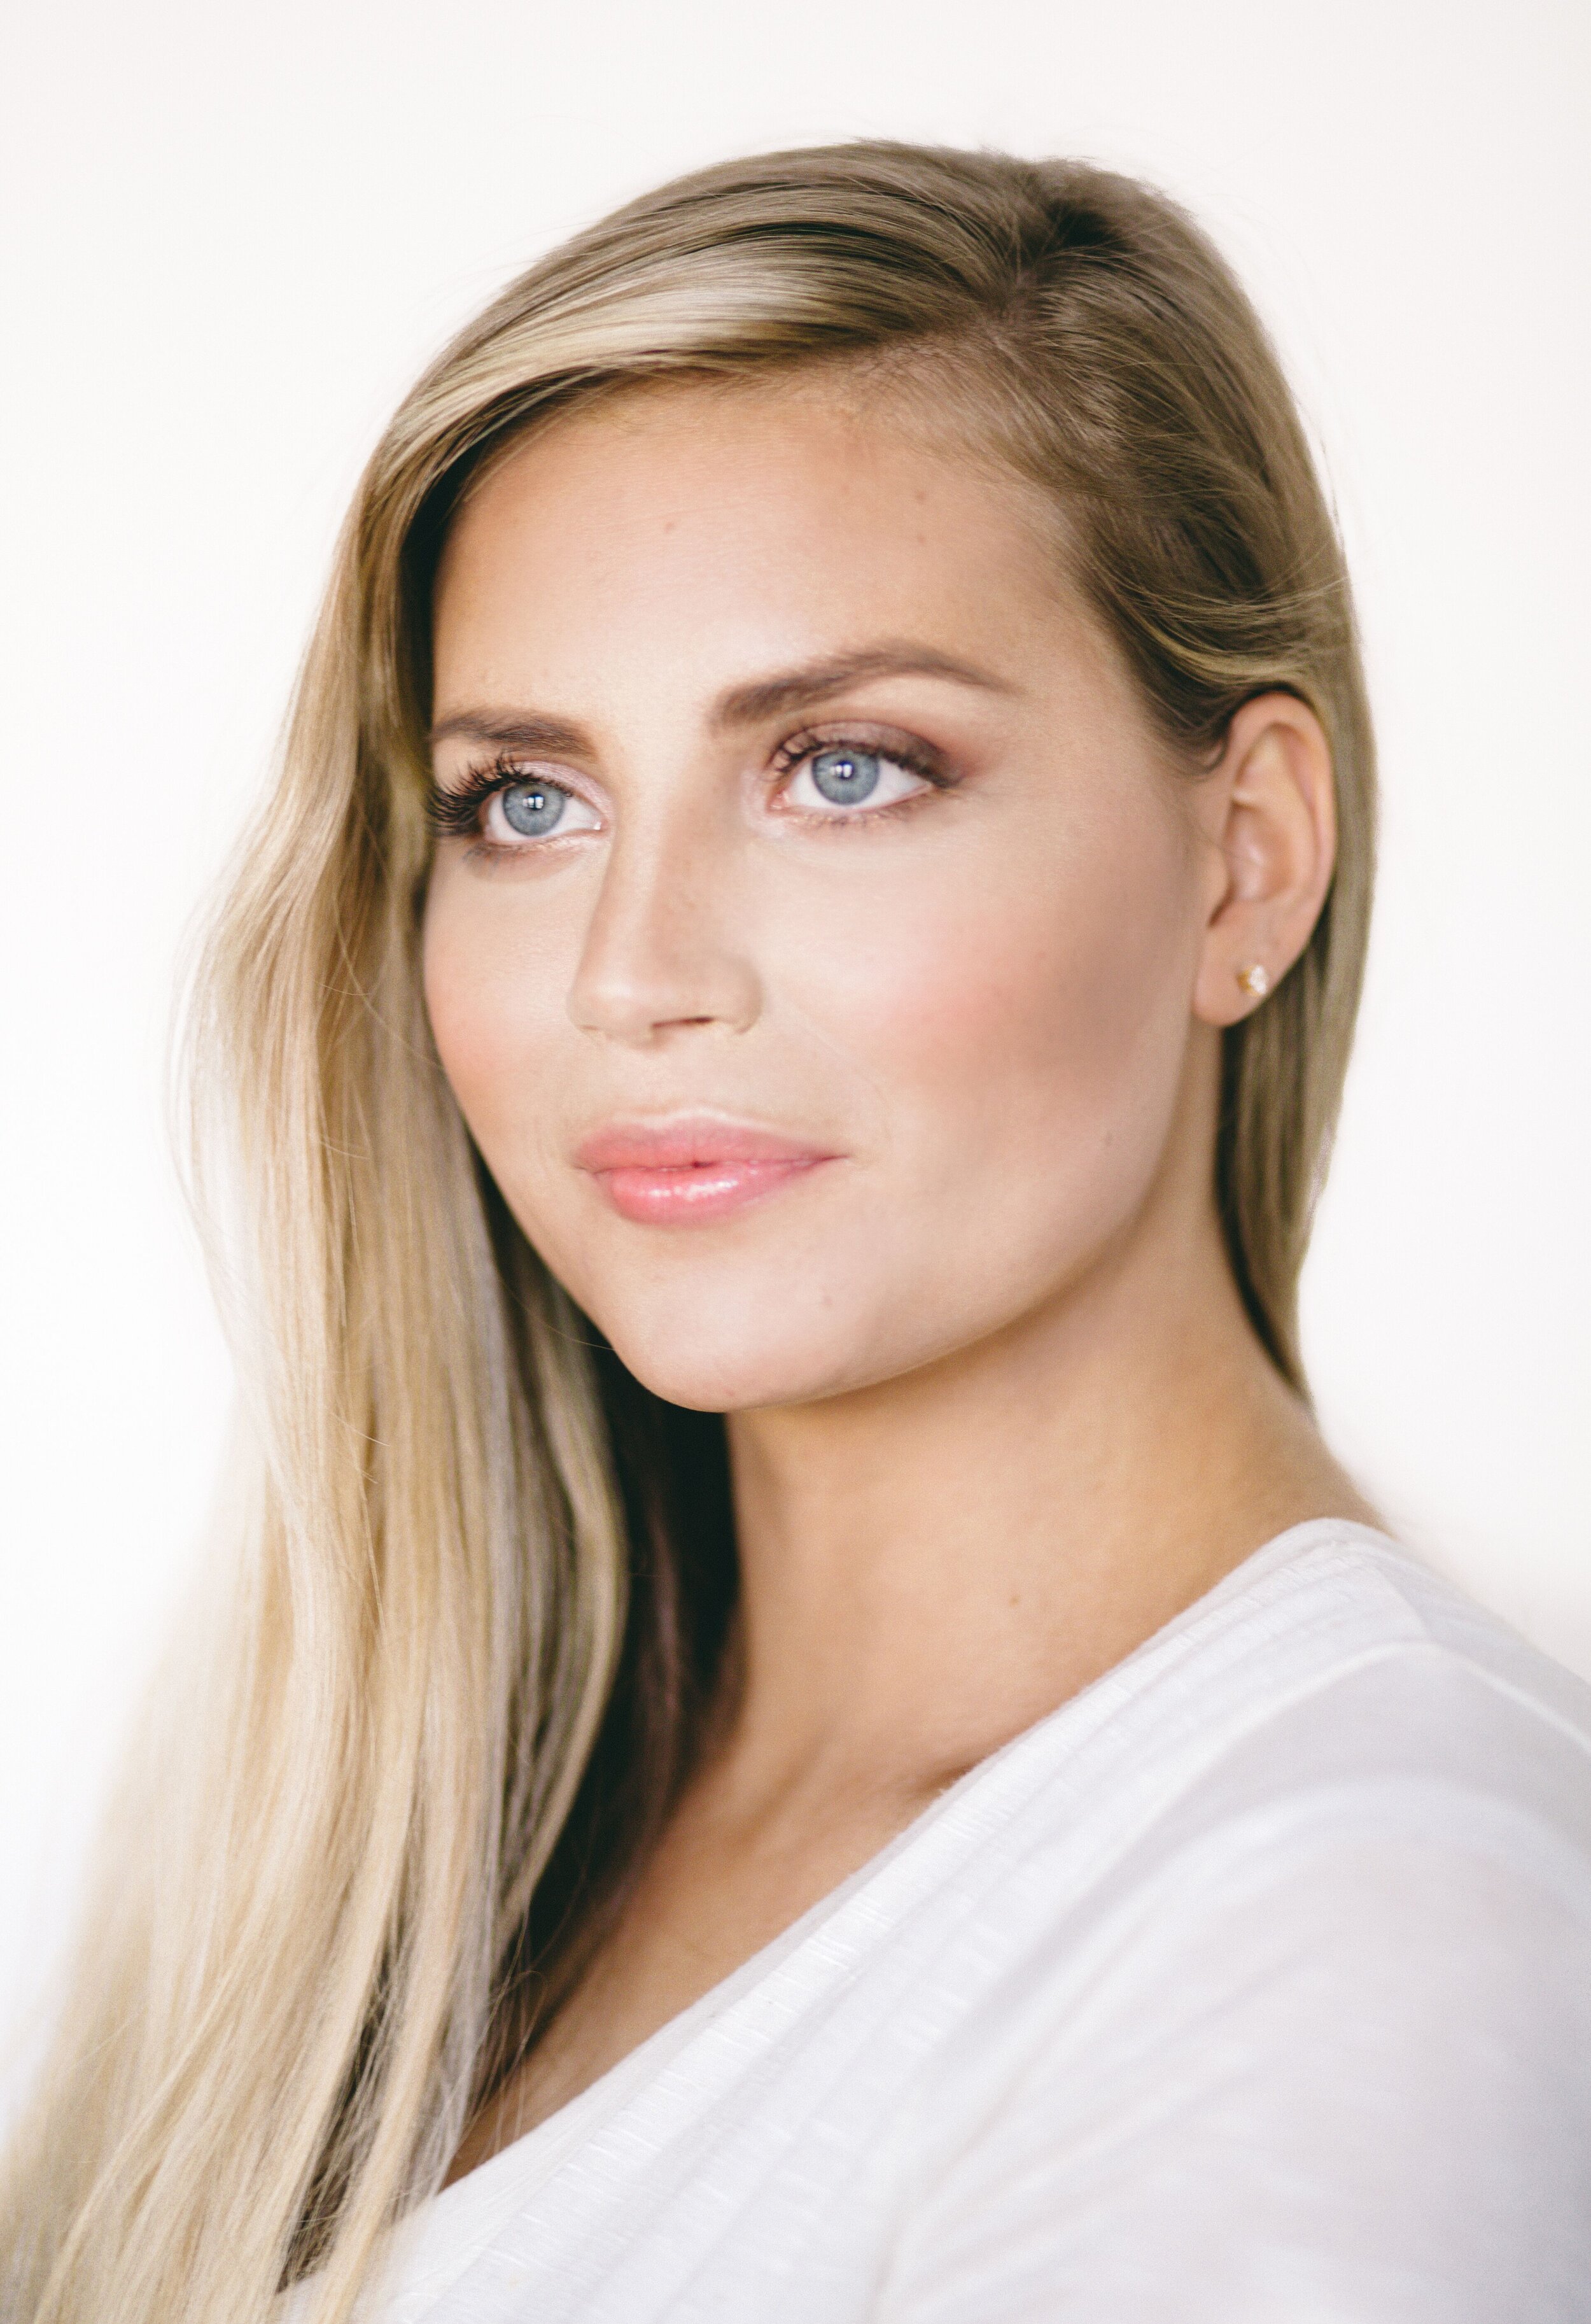
After exfoliation, I love to showcase the natural beauty of my clients using cream makeup. Cream makeup will show off your new glowing skin without caking your face!
Not sure where to start?
Read more about cream based makeup and how to apply it here :)
Until Next Time,
XOXO-
Meghan
Break-Up With Cake Face: Your Cream Makeup Questions Answered
Skin is IN- and the best way to show off your natural style? Cream makeup. Your top questions answered here.
Skin is IN.
You already know that I’m all about natural beauty. So, when it comes to the second-skin trend, I’m 100% in.
I hope it sticks around for a LONG time - I love the look of second-skin makeup that truly brings out the unique beauty of every one of my clients.
Plus, I don't know about you, but the only cake I want is on my plate, not a cake-face.
So, what’s the BEST way to get natural? Simple: Cream makeup.
Think Creams Are Just Too Heavy?
Think again! Today’s cream based products aren’t what hit the scene for a short while in the 90’s - who recalls that Covergirl black plastic compact with the white little sponge?
I grew up during the blue mascara and glitter eyeshadow trend, so clearly I had no idea what I was doing. No wonder my first trials with cream makeup didn’t work out...
Luckily, I’ve learned a few things since then like...electric blue? Not my color.
Oh, and this big one: Less is more with creams.
The key is to use LESS product than what you think you need. Otherwise, your beautiful features get buried under the makeup. Which defeats the whole purpose, right?
Another common mishap is choosing the incorrect shade. It’s crucial to find the perfect color match to achieve that second-skin look. This isn’t easy- especially if all you have to go off of is the packaging on the drugstore shelf.
Thankfully makeup companies have come a long way since the 90’s as well. Brands such as RMS Beauty, Cover FX, and Masckara Beauty offer some of the best cream foundations.
Still on the fence?
Here are the Top Six Cream-Makeup Questions my clients ask before falling in love with cream.
Break-up With The Cake Face: Your Cream Makeup Questions Answered.
Chances are, you’ve already seen great cream makeup while scrolling through your IG. Those flawless #nofilter photos? Your favorite personalities already know the secret of accentuating their natural beauty through cream foundations, bronzers, and blush.
The problem is this: When you walk through the aisles of your corner drugstore- or even Sephora- options are slim.
Looking to switch up your routine and let your inner beauty shine?
Here are the TOP SIX questions I run into with cream-curious clients.
#1. Does it slip around on the face?
Nope! But if you have oily skin I recommend taking a couple extra steps to make sure you stay shine-free and looking flawless all day.
First, you will want to use a setting spray as a primer BEFORE your makeup application. This helps create a barrier keeping your oils at bay. Here is my fave and it works great with creams.
Second tip: Make sure you set! Set shine-prone areas, like your t-zone, with a powder. (Pro tip! Here is an affordable one that does the job well.)
Finally, it’s also best for oily skin gals to use a lightweight moisturizer (if you use one at all) prior to makeup application vs. a creamy, heavy one. If you have oily skin, boost your cream’s performance by prepping your skin with as little as possible.
#2. What about dry skin?
Good news! You’re going to LOVE cream makeup.
If you’ve been dying for a natural glow, switching your routine to cream products are your best bet.
#3. Is it easy to use?
Like anything new, it’ll take a little practice to get the exact look you’re going for.
It’s an adjustment, especially if you’re used to using traditional liquid foundation. Most of my clients find they’ve mastered their daily routine in about a week.
What’s the main difference between cream and traditional liquid makeup?
The big thing is this: Creams have a much higher pigmentation and liquid foundations are mainly water with a little pigment. This means it takes much less product. Most beginners apply too much when they first start out. But the great thing is if you made a mistake - such as getting it in the wrong place or used too much - you can wipe it right off or buff it with away with a brush! Liquids and powders don’t give you this option- they set too fast- making it difficult to correct your mistakes.
#4. How does it look on mature skin?
Creams move along with the natural movement of your face, so that means no creasing or settling into your fine lines!
Even better - if your skin needs a moisture boost, it’s the perfect canvas for cream makeup!
#5. What if I don’t like a dewy or glowy look?
No problem!
You can achieve a matte finish with creams by applying a setting powder all over your face as the last step.
#6. What if I prefer a full coverage look?
Cream foundation is super flexible when it comes to style.
Looking for full coverage? You can absolutely achieve this by applying your cream foundation with a dense bristle brush, such as the Buffy brush.
Pro tip: Apply the makeup in a pressing/dabbing motion rather than swiping to achieve fuller coverage and disguise imperfections such as acne or texture.
I use Maskcara Beauty’s highlight and contour cream foundation and makeup in my professional kit and my personal one at home. It is by far the easiest, most natural looking makeup that I have used!
Ready To Dive Into Your Second-Skin?
Remember, the key to mastering cream is choosing the right shade for your skin.
Ready to make the switch- but don’t know where to start?
I can help!
Book here for a color-match and application lesson at my studio.
Too far of a drive? Don’t have time to make an appointment? My online-color matching services make it easy to choose the right products the first time.
Until next time!
Xoxo,
Meghan


